Here’s a step-by-step guide on how to install a soakaway in your garden in the UK:
Table of contents
This guide covers the basics of installing a soakaway, assuming the necessary checks and measurements have already been established.
If you’re still working out if you need a soakaway or where to place it, how big it needs to be, etc. then check out our other soakaway related pages:
Determine the Location of Your Proposed Soakaway
The first step in installing a soakaway is to choose the location. It should be at least five meters away from your home’s foundation, away from any underground utilities, and in an area with well-draining soil.
As part of determining the location, you will need to establish if the ground in this area will take the excess water at a quick enough rate to actually allow the water to soak away. If the ground doesn’t drain quick enough, you may have to try a different option.
Dig a Hole
Dig a hole that is deep and wide enough to accommodate the soakaway crate. A standard soakaway crate is usually around one meter wide and one meter long, but you can choose a size that suits your needs.
Prepare the Hole
Line the hole with a layer of permeable membrane to prevent any soil from entering the soakaway. Then, add a layer of pea gravel to the bottom of the hole to provide a stable base for the soakaway crate.
Install the Crate
Carefully place the soakaway crate into the hole. The crate should sit level and firmly on the layer of pea gravel.
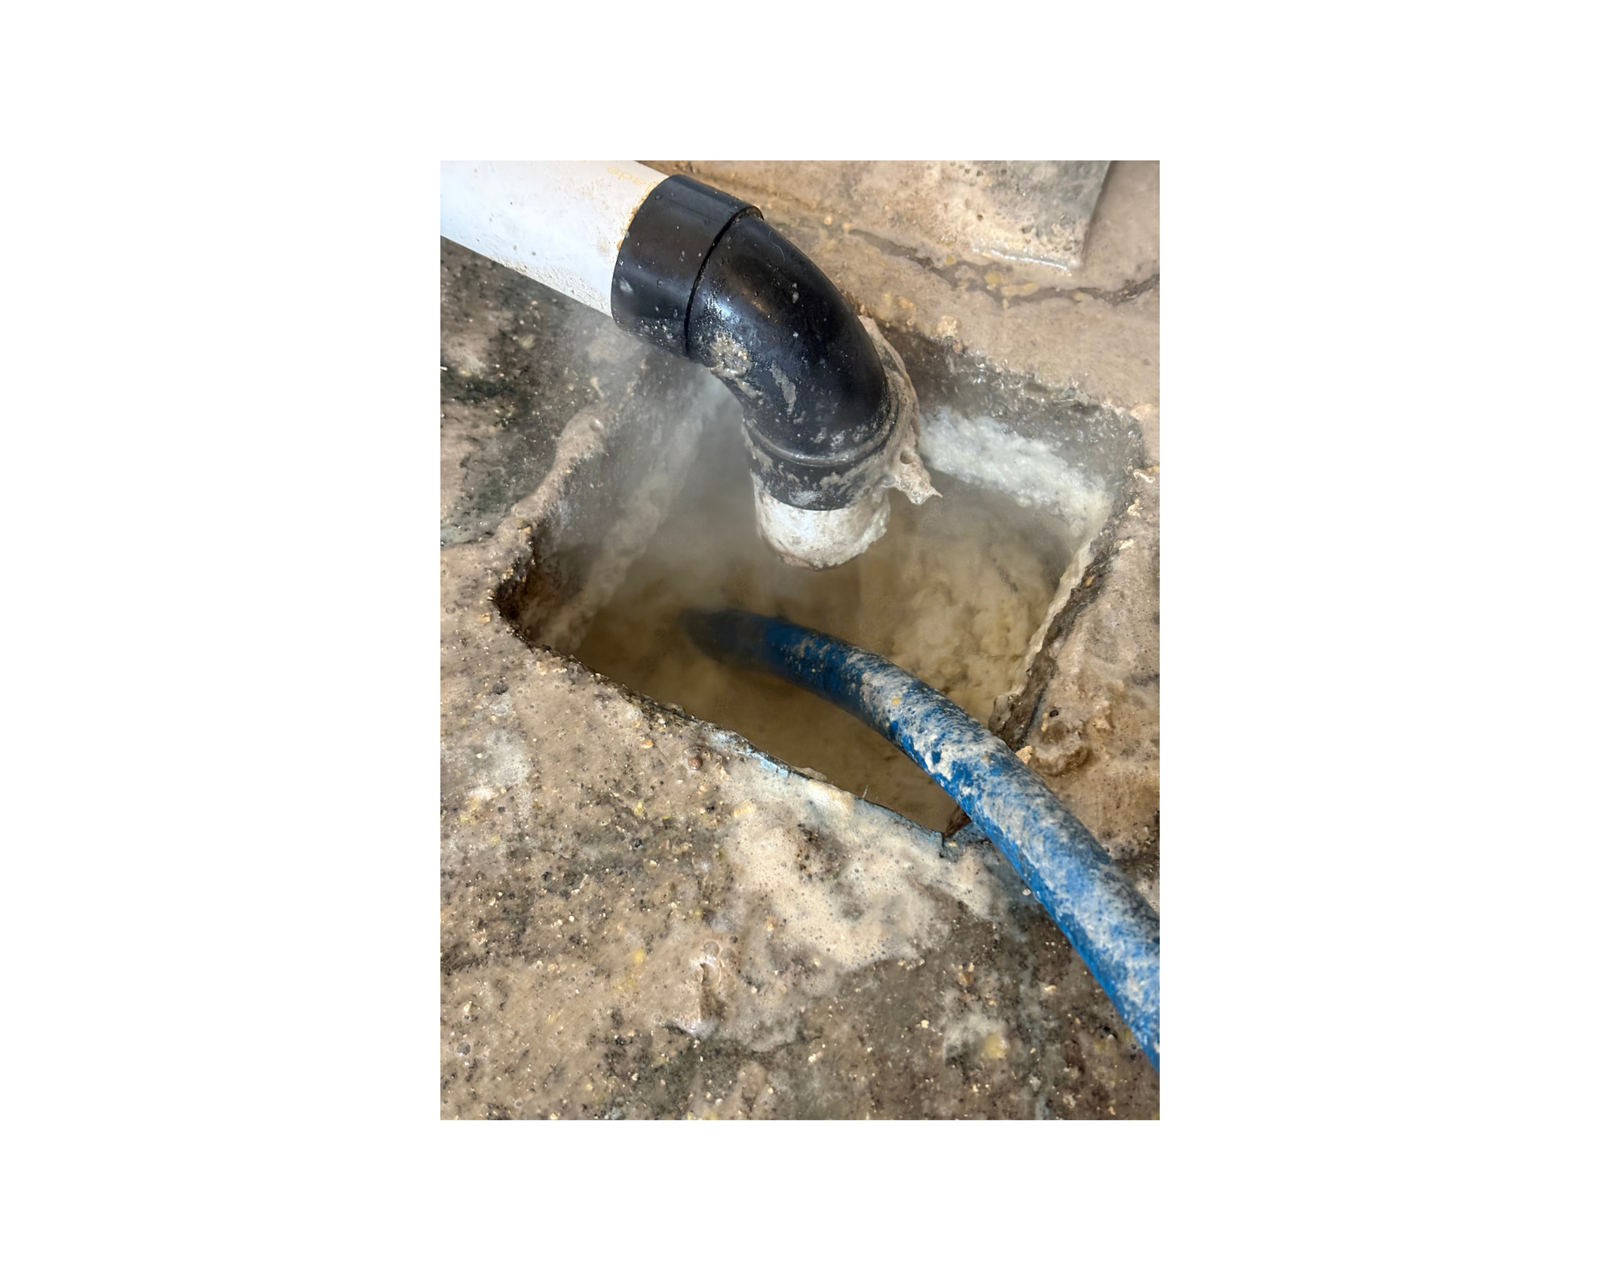
Connect the Pipes
Connect the pipes from your home’s guttering or drainage system to the soakaway crate using flexible pipe or rigid pipe. The pipes should be positioned so that they flow into the top of the crate.
Fill the hole
Fill the hole around the soakaway crate with more pea gravel until it is level with the surrounding ground. Ensure that the gravel covers the entire crate.
Cover the Crate
Cover the crate with permeable membrane to prevent any soil from entering the crate. Then, cover the membrane with soil and plant grass or other vegetation over the top.
And finally:
Maintain the Soakaway
It’s important to regularly inspect and maintain your soakaway to ensure it is functioning properly. This includes checking the inlet and outlet pipes for any blockages or damage, and removing any debris or sediment that may have accumulated in the crate.
Success alert message.It’s worth noting that there may be regulations or guidelines that need to be followed when installing a soakaway in your area. You should check with your local authority or a qualified plumber before starting the installation to ensure that you are meeting any requirements and regulations.